Total Cost:
Time: Around 3 hours if you're being picky, probably 1 1/2 - 2 if you're not.
Money: $10 because you shouldn't be paying for that big piece of cardboard (you can take any box you want from the stockers at Walmart in the middle of the night, or so they told me) or the toilet paper rolls separately. You have to use it anyway. I'm only counting cost for paint and a Sharpie marker, assuming you don't already have either of these things.
Materials needed:
3 Paper towel rolls and 1 toilet paper roll (or 6-8 toilet
paper rolls)
Sharpie
Piece of Cardboard (I used the side of a really tall box.)
Spray Paint (Green, and Brown)
First thing you'll do is get your paper towel rolls and flatten them out, then mark it every 1/2 inch with a marker. You can see in the pictures that I did this the other way around and well, it was much more difficult that way.
 |
| Materials, other than the piece of cardboard. |
 |
| Piece of cardboard. |
 |
| Definitely flatten first. |
 |
| This is way harder to mark on. And you'll need it flat to cut anyway. |
I did this with 3 rolls so I ended up with probably 30-40 pieces at the end. Again, you could use all toilet paper rolls, you'll just need more of them.
 |
| These are just the ones from one roll because they were kind of everywhere. |
 |
| I did this outside my front door so my neighbor's dogs were having a fit. She annoyed me so this was the ideal situation. Also, there was less wind out front instead of out back. |
This made a mess on my hands. Make sure you turn them every way to get all of them the same color all over, inside and out. I used spray paint and had to hold onto them to make sure they didn't fly away. I made sure one side was dry before turning to do another.
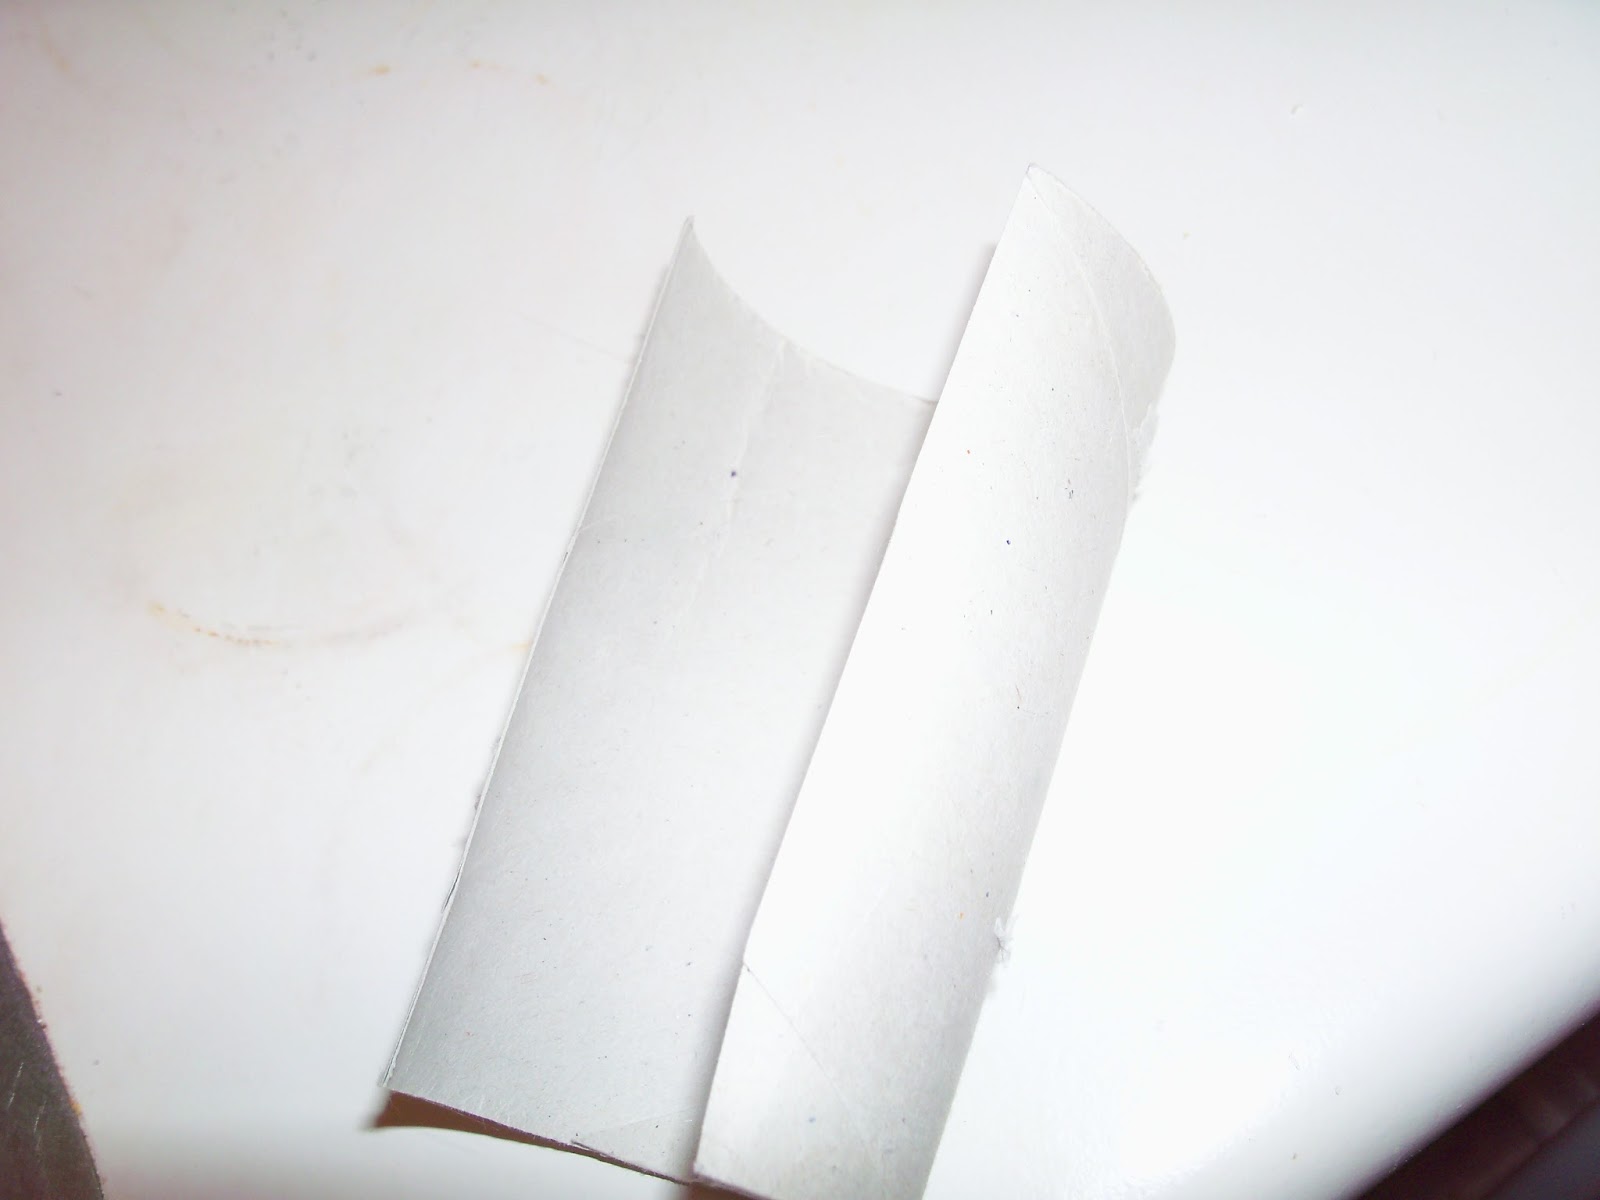
Now go back inside and get your remaining toilet paper roll (I hope you still have one left!). Cut it down the side. And then cut the sides of this to make a shape like a tree trunk, like shown. I don't know how else to describe it.

 |
| I forgot to take a picture of the first step so I had to go back to do it again and didn't have the same color roll. Oops. |
Now you want to flatten this out, preferably with the biggest book you have.
 |
| If you study English, you'll have lots of giant books laying around and finally they can serve a useful purpose. |
Now take your big piece of cardboard outside to paint it.
 |
| Lovely, and complete with a glare. (I didn't even have to paint that part on.) |
 |
| Fortunately, this is a different shade of brown from the background because it was a different color cardboard to start with. |
Now organize the pieces on the background in the shape you want. Go ahead and lay out all of the pieces so you can move them around and make sure they're just right. Leave them in place and glue on one at a time with the glue gun. Then wipe off all the excess glue that is probably all over the place, if your projects go anything like mine.
This is my final tree that now hangs out over our bed! Well, it would if I hadn't packed it up when we moved and then never decided to decorate once we got here.

No comments:
Post a Comment