Showing posts with label Crafts. Show all posts

Monday, September 2, 2013

Toilet Paper Tree Headboard - DIY

I had been wanting to make one of the toilet paper roll art things for a while now, but I couldn’t make up my mind about what I wanted to make. I was going to make stars (with a black background and silver pieces) or maybe flowers (with a white background and pink pieces), or maybe a vine (similar to what I actually came up with). My attention lately, though, has been drawn to trees so it seemed natural to make a depiction of this. I also wasn't sure what I wanted to do with the piece when I finished it, but then I was reading in a book of crafts about making headboards. So, now we have a headboard with a tree made of toilet paper rolls above our bed. And I just have to say it looks pretty fantastic. So here’s how to do it!

Total Cost:
Time: Around 3 hours if you're being picky, probably 1 1/2 - 2 if you're not.
Money: $10 because you shouldn't be paying for that big piece of cardboard (you can take any box you want from the stockers at Walmart in the middle of the night, or so they told me) or the toilet paper rolls separately. You have to use it anyway. I'm only counting cost for paint and a Sharpie marker, assuming you don't already have either of these things.

Materials needed: 
3 Paper towel rolls and 1 toilet paper roll (or 6-8 toilet paper rolls)
Sharpie
Piece of Cardboard (I used the side of a really tall box.)
Spray Paint (Green, and Brown)

Materials, other than the piece of cardboard.

Piece of cardboard.
First thing you'll do is get your paper towel rolls and flatten them out, then mark it every 1/2 inch with a marker. You can see in the pictures that I did this the other way around and well, it was much more difficult that way. 
Definitely flatten first.

This is way harder to mark on. And you'll need it flat to cut anyway. 
Then you want to cut on the marked lines.
I did this with 3 rolls so I ended up with probably 30-40 pieces at the end. Again, you could use all toilet paper rolls, you'll just need more of them.
These are just the ones from one roll because they were kind of everywhere.
Go ahead and take these outside. It's time to paint them!
I did this outside my front door so my neighbor's dogs were having a fit. She annoyed me so this was the ideal situation. Also, there was less wind out front instead of out back. 

This made a mess on my hands. Make sure you turn them every way to get all of them the same color all over, inside and out. I used spray paint and had to hold onto them to make sure they didn't fly away. I made sure one side was dry before turning to do another. 
Now go back inside and get your remaining toilet paper roll (I hope you still have one left!). Cut it down the side. And then cut the sides of this to make a shape like a tree trunk, like shown. I don't know how else to describe it.

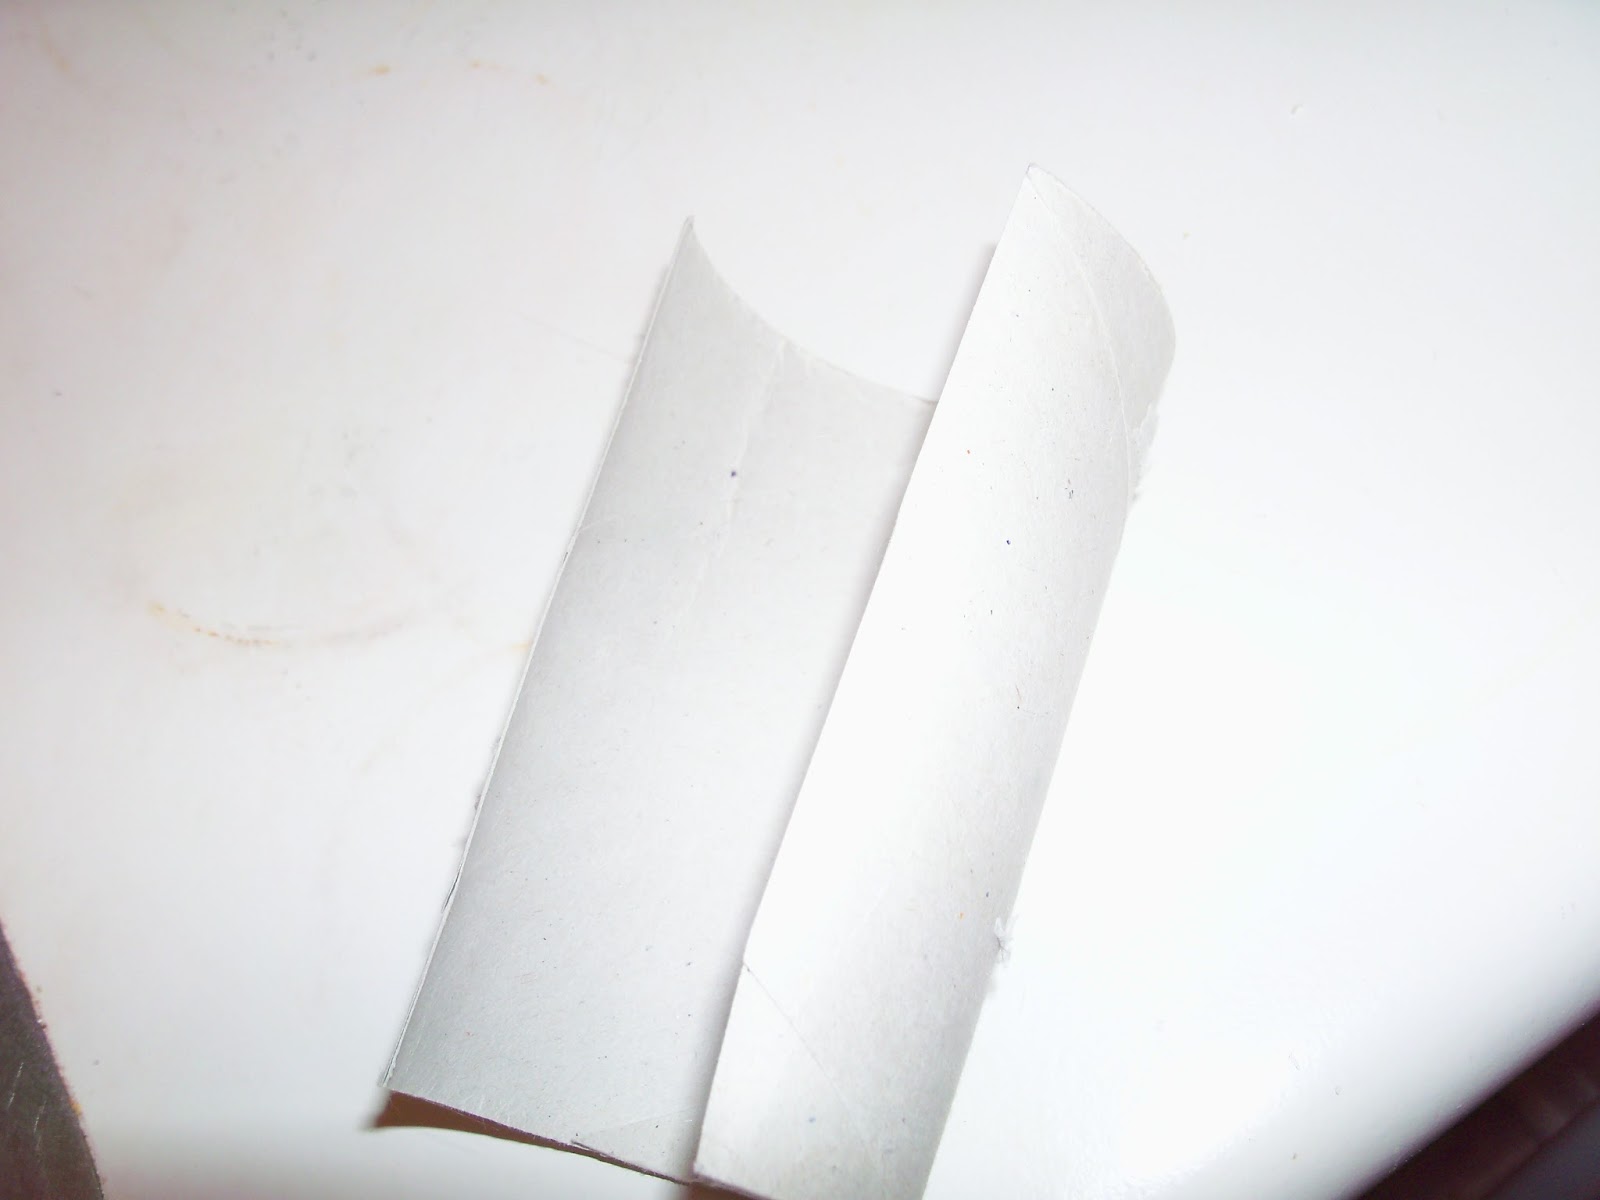
I forgot to take a picture of the first step so I had to go back to do it again and didn't have the same color roll. Oops. 
Now you want to flatten this out, preferably with the biggest book you have. 
If you study English, you'll have lots of giant books laying around and finally they can serve a useful purpose. 


Now take your big piece of cardboard outside to paint it. 
Lovely, and complete with a glare. (I didn't even have to paint that part on.)
Go back inside and get that tree trunk toilet paper roll you made so you can paint it too.
Fortunately, this is a different shade of brown from the background because it was a different color cardboard to start with. 
Now organize the pieces on the background in the shape you want. Go ahead and lay out all of the pieces so you can move them around and make sure they're just right. Leave them in place and glue on one at a time with the glue gun. Then wipe off all the excess glue that is probably all over the place, if your projects go anything like mine. 

This is my final tree that now hangs out over our bed! Well, it would if I hadn't packed it up when we moved and then never decided to decorate once we got here. 


This post has been in the works for months now. I finally finished it tonight. The night before I go back to work from my mini vacation. Pretty proud of myself. 

Sunday, February 10, 2013

Really Basic Craftiness

Something I've been looking for lately is a good recipe book. Every day at work, I look through a few during my break, and whenever we've gone to sell back books to the used bookstore in Chattanooga, I look through their journals with no luck. 
I finally found one that was the size I want, has conversion charts, splash pages, dividers, and was cheap (plus it was at work so I got that discount as well). The only problem with this one was it was honestly, pretty ugly.


Ok, so I realize it's not that bad, but it just looks like something someone older would have... But because I could get it for $6.50 and it was perfect otherwise, I went ahead and got it, knowing that I could make it pretty later. (The pages are pretty plain so that wasn't an issue, fortunately.)
Today, J and I went looking for a hot knife so he could do his own crafty projects with vinyl. It's Sunday so Hobby Lobby was closed, but we found a Michaels on their website that was a little closer than Chattanooga. We headed up there to find out that this was their grand opening weekend! I can't handle crowds very well, but we navigated effectively, got some great deals and I went home with some scrapbooking paper (for this project and others), ribbon, a HUGE reusable shopping bag, and a few of their $1 little things. (We did not find the hot knife, but later found a soldering tool at Home Depot.)
I found this pattern, which I love, love, love for the recipe book.


I've never been big on butterflies, but they have really been growing on me lately, and I love that they're "made" out of pages of books. So, a short while and some Mod Podge (which I made the other day) later, I have a much prettier recipe book :)


I decided to keep the spine as it was because I already liked it and the red on the cover is still a pretty close match.


Just in case anyone else is planning to use Mod Podge for something like this with paper, I want to share that I did tear the edge in the corner. I fixed it with another piece, but it was frustrating. The glue just made it a little too wet. It's a little wrinkly as well, but I'm okay with it!

I swear I have a few more projects to post pretty soon too! I didn't think this needed directions, but if you really want them, let me know :)